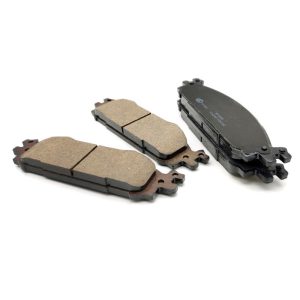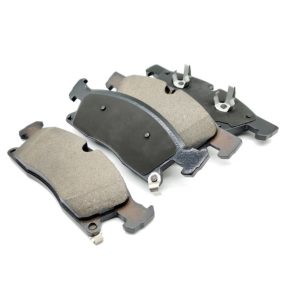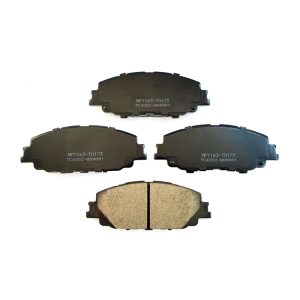


Brake pads are an important part of a vehicle’s braking system. Over time, they wear out and need to be replaced. Replacing brake pads is a relatively simple process that can be done at home with the right tools and a little know-how. Here’s how to replace brake pads:
Step 1: Gather the necessary tools and supplies. You’ll need a jack, jack stands, lug wrench, socket wrench, brake cleaner, a C-clamp, and a new set of brake pads.
Step 2: Park your vehicle on a level surface and engage the parking brake. Loosen the lug nuts on the wheel you’ll be working on, but don’t remove them yet.
Step 3: Lift the vehicle with the jack and secure it on jack stands. Remove the lug nuts and the wheel.
Step 4: Locate the brake caliper, which is the component that holds the brake pads in place. Use the socket wrench to remove the bolts that secure the caliper to the rotor. Slide the caliper off the rotor and set it aside.
Step 5: Remove the old brake pads from the caliper. If they are difficult to remove, use a C-clamp to compress the caliper piston. This will make it easier to remove the old pads and install the new ones.
Step 6: Clean the caliper and rotor with brake cleaner to remove any debris or dirt that may have accumulated.
Step 7: Install the new brake pads into the caliper. Make sure they are seated properly and secure.
Step 8: Slide the caliper back onto the rotor and reattach the bolts that secure it in place.
Step 9: Replace the wheel and tighten the lug nuts. Lower the vehicle and remove the jack stands.
Step 10: Repeat the process for the other wheels.
Changing brake pads is an important maintenance task that should be done regularly to ensure your vehicle’s safety. If you’re not comfortable doing it yourself, take your vehicle to a professional mechanic. However, with the right tools and a little bit of practice, changing brake pads can be a straightforward and rewarding DIY task.

