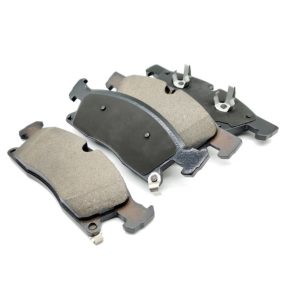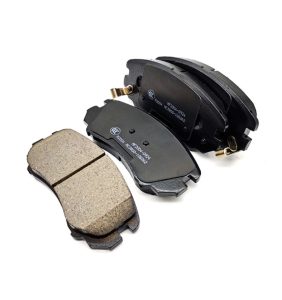


Brake pad replacement is a necessary maintenance task for any vehicle owner. Over time, brake pads wear down and need to be replaced to ensure optimal braking performance and safety on the road. While you can take your car to a mechanic to have the brake pads replaced, doing it yourself can save you money and give you a sense of accomplishment. Here’s how to change brake pads yourself and save money:
Step 1: Gather the necessary tools and materials
Before you start, make sure you have all the tools and materials you need. You will need a jack, jack stands, lug wrench, C-clamp, new brake pads, and brake cleaner.
Step 2: Jack up the car and remove the wheels
Use the jack to lift the car and place jack stands under it for support. Then, remove the lug nuts and take off the wheels.
Step 3: Remove the old brake pads
Locate the brake caliper and remove the bolts or clips that hold it in place. Then, remove the old brake pads from the caliper.
Step 4: Clean the brake caliper and rotor
Use brake cleaner to clean the brake caliper and rotor thoroughly. This will remove any debris or brake dust that may have accumulated.
Step 5: Install the new brake pads
Place the new brake pads in the caliper, making sure they are properly aligned. Use a C-clamp to compress the caliper piston if necessary.
Step 6: Reinstall the brake caliper and wheel
Once the new brake pads are in place, reattach the brake caliper and bolts or clips. Then, put the wheel back on and tighten the lug nuts.
Step 7: Repeat for the other wheels
Repeat the process for the other wheels, taking care to follow the same steps.
By following these simple steps, you can change your brake pads yourself and save money on labor costs. Remember to take your time and be careful when working on your car’s brakes, as they are an essential safety feature of your vehicle. With a little patience and practice, you can become a pro at brake pad replacement and keep your car running smoothly and safely on the road.

