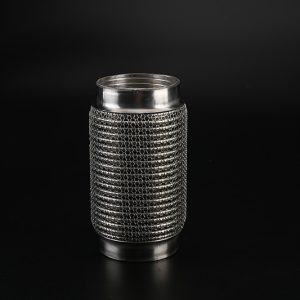
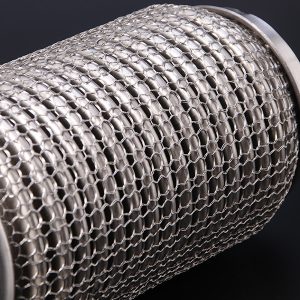
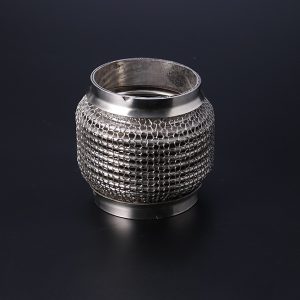
If you are experiencing exhaust leaks or a noisy exhaust system, it may be time to consider installing a stainless steel exhaust flex pipe. This component is designed to provide flexibility and durability to your exhaust system, preventing it from cracking or breaking due to vibrations or temperature changes. Here’s a step-by-step guide on how to install a stainless steel exhaust flex pipe in your car.
Step 1: Prepare Your Car
Before you start the installation process, make sure your car is parked on a flat, even surface and the engine is turned off. You will also need to gather the necessary tools, including a wrench, a ratchet, and a jack stand.
Step 2: Remove the Old Exhaust Flex Pipe
Locate the old exhaust flex pipe and use a wrench or ratchet to remove the bolts that are holding it in place. You may need to use penetrating oil to loosen the bolts if they are rusted or stuck. Once the bolts are removed, carefully remove the old flex pipe from the exhaust system.
Step 3: Install the New Exhaust Flex Pipe
Take the new stainless steel exhaust hose and slide it into place, making sure it lines up properly with the rest of the exhaust system. Secure it in place with the bolt that came with the hose and tighten with a wrench or ratchet.
Step 4: Check for Leaks
Start your car and let it run for a few minutes to check for any leaks or unusual noises. If you notice any leaks or the exhaust system is still noisy, you may need to tighten the bolts further or check the exhaust system for other issues.
From where I stand, installing a stainless steel exhaust flex pipe in your car can help to improve the durability and flexibility of your exhaust system. By following these simple steps, you can easily install a new flex pipe and enjoy a quieter and more reliable exhaust system.